Learn How to Set Up an Urban Environment with Unreal Engine 5 | Far From Home Part II

Making Of / 22 November 2024
Introduction: 
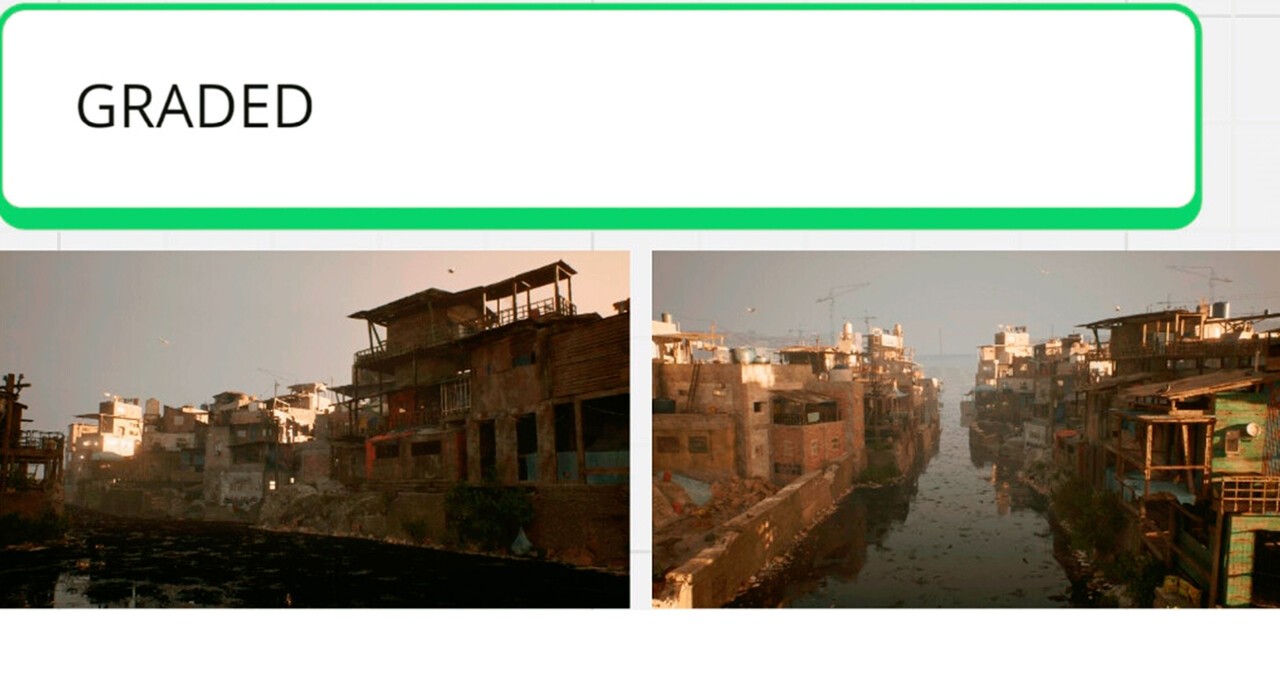
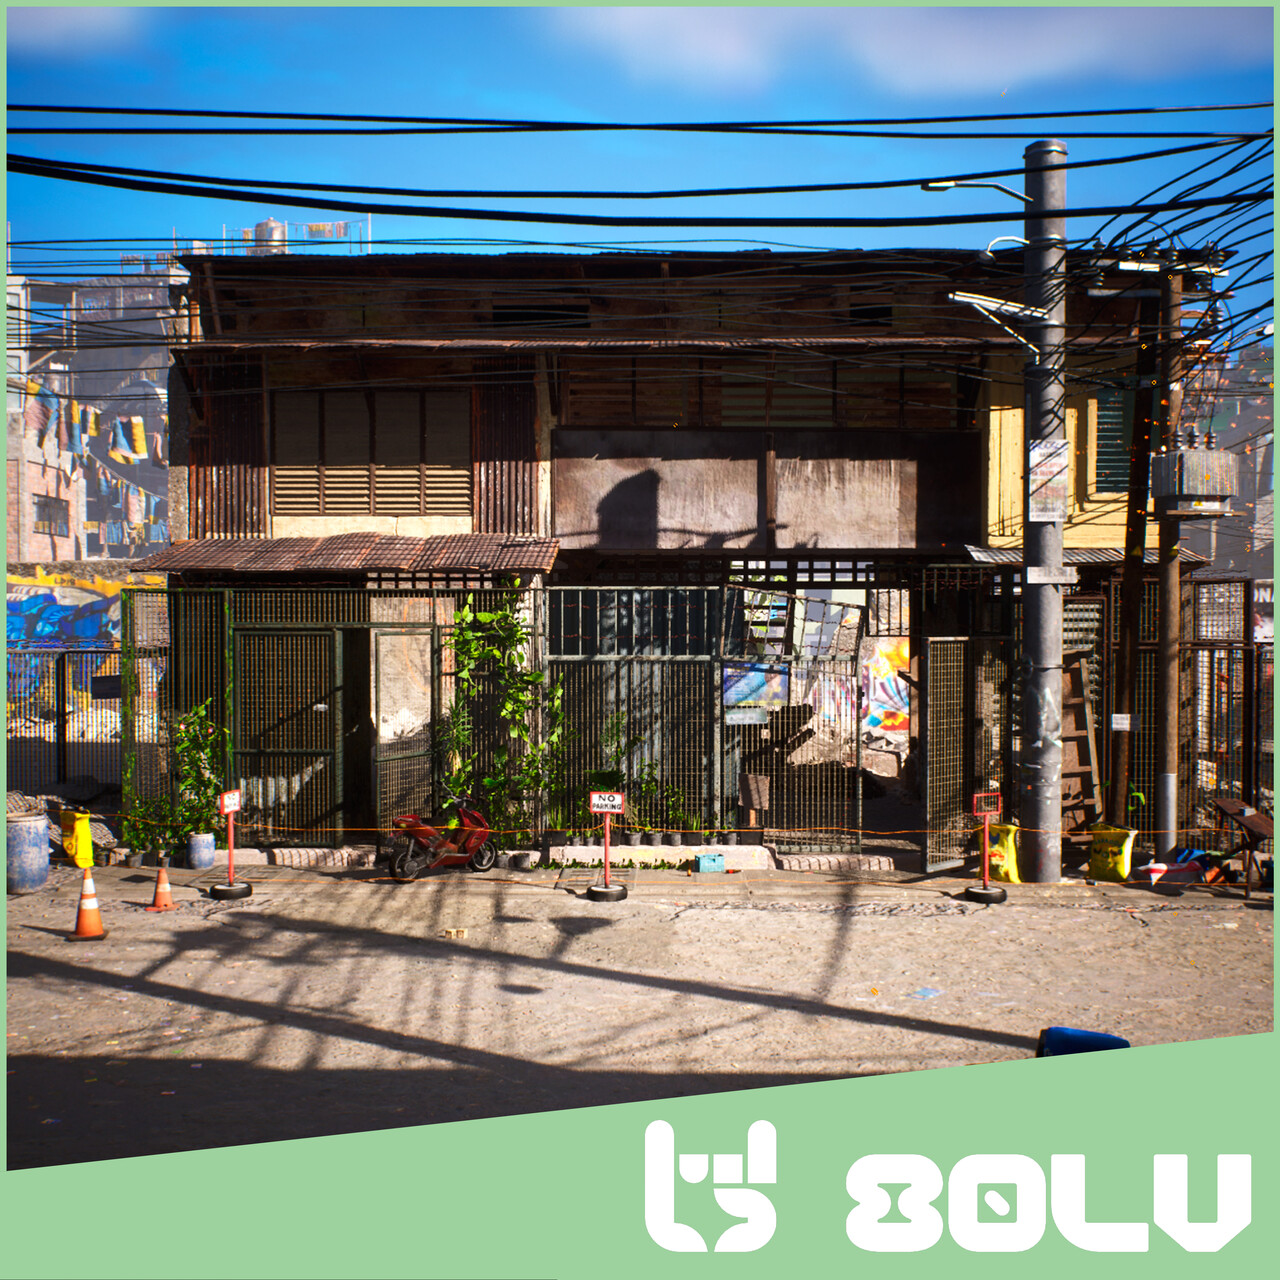
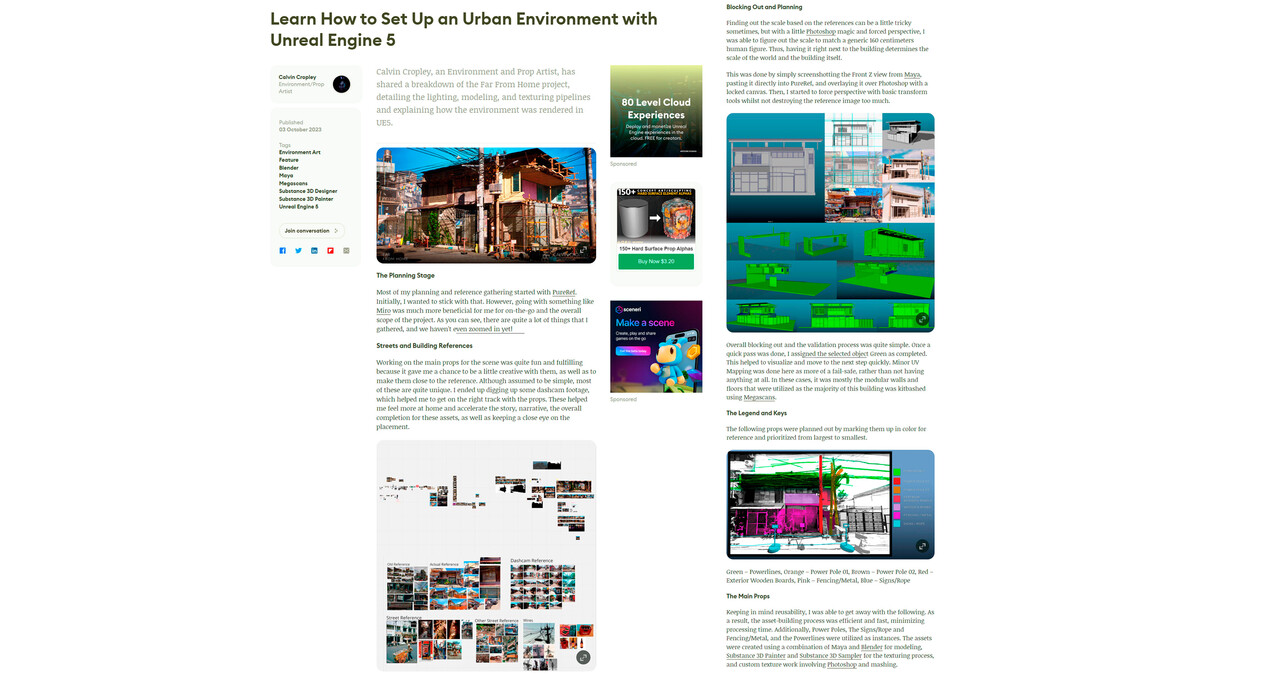
Far From Home Part II extends my previous project Part I. The scene takes a step further from the original, which lies directly behind the building of Part I, depicting a more polluted and chaotic part of the neighbourhood, showcasing the raw realities of the environment I remember from the 90s. The smog-filled canal area, with murky, litter-filled water, recreates the feeling of this place, evoking the harsh but nostalgic experience of my second home. I used a mix of self-made assets, Quixel Megascans, modelling, and KitBash3D to help achieve the narrative. 

I built everything on a separate level to enable reusability for each asset, combining real references—including Google Maps and discussions with family—to keep the authenticity intact. My goal was to go beyond accurate depiction and bring the place to life, introducing heavy smog, extreme pollution, and intense heat, while still presenting it as a livable area. The area captured here is essentially what lies behind the main building from Part I.

Special attention was given to how light interacts with water reflections and the surrounding architecture, emphasizing a delicate balance between nature and the neighbourhood’s overall imprint. By adding a slightly stylized LUT treatment, I was able to maintain focus on emotional storytelling without detracting from the detailed models and textures. A critical part of this process was ensuring that each shot felt intentional not only showcasing the environment but also encouraging exploration and interpretation by the audience.

For context please read the full breakdown of the original post to Far From Home Part: I 
https://www.artstation.com/artwork/6NNoV5
https://www.artstation.com/artwork/Ry6y0v


The Concept Stage:
So, I started with some quick sketches and photo batching in order to get a feel and vibe for what I was going for. I also explored Google Maps Street View to gather references from familiar places. It helped shape the direction of the project as well as merging images to create the place I actually wanted, which is a mix of two different area batched together.


Assets & Workflow:
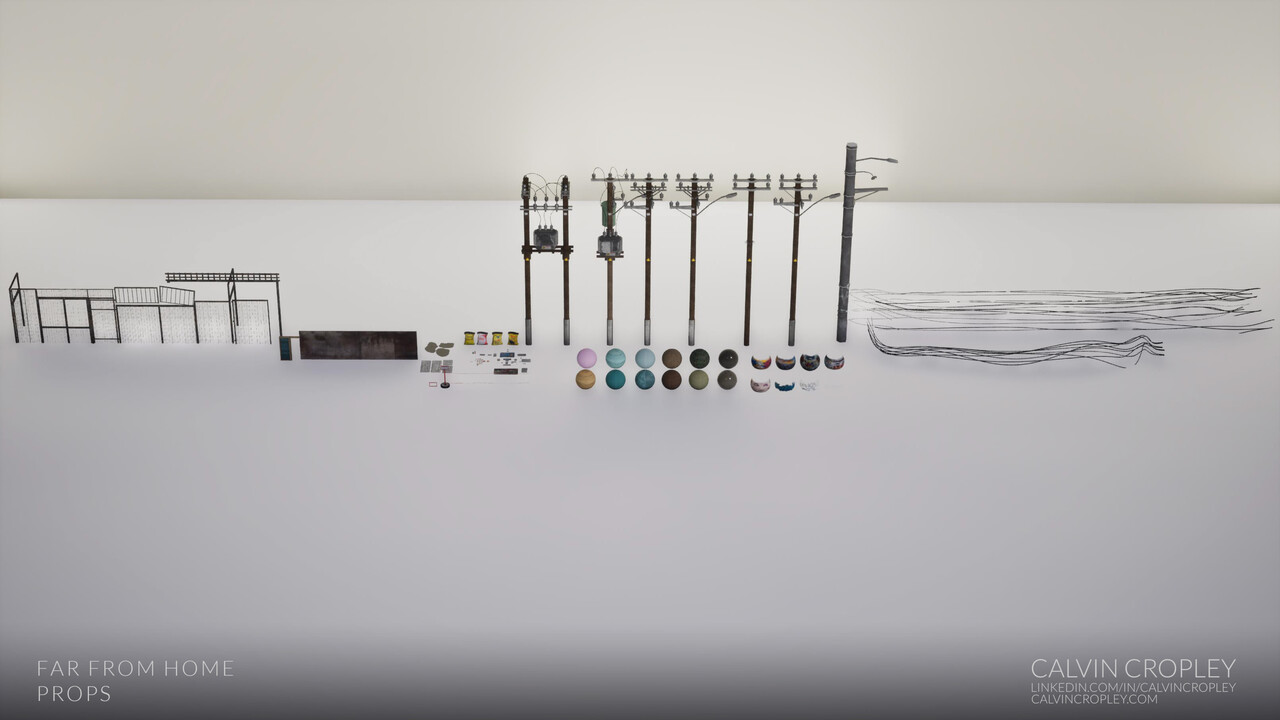
This project heavily leveraged 3D KitBash assets alongside many custom-created assets. Reusability was a key focus, streamlining the workflow by repurposing models from Part 1. The modular structure enabled a fast and flexible approach to building new scenes while maintaining consistency. From there, I jumped into Maya to block things out and understand how everything would look. It was helpful to test ideas before diving into Unreal Engine and bringing the whole thing to life.


Set Dressing & Composition:
The set dressing balances visual clutter with intentional storytelling, reinforcing a sense of a lived-in world. Using procedural scattering techniques for trash and posters makes the environment feel grounded and realistic, with elements designed to encourage exploration. Just like Part I, I studied the silhouette to get a feel of what composition I was looking for as well as keeping in mind all the details from the foreground and mid. This was done much quicker by also using KitBash's new tool Cargo, which made the import process through Maya super speedy.


Atmosphere:

Smog plays a vital narrative role, shaping the atmosphere and representing the environmental decay while maintaining livable areas. The fog and light interactions emphasize depth, while reflections add subtle life to the scene. Set Dressing & Composition: The set dressing balances visual clutter with intentional storytelling, reinforcing a sense of a lived-in world. By using procedural scattering techniques for trash and posters, the environment feels grounded and realistic, with elements designed to encourage exploration.


Tools & Technical Execution:
All work was completed in Unreal Engine, with additional modelling in Maya and textures developed using Substance Suite. The modularity allowed for rapid construction, ensuring every shot was polished and intentional. This efficiency was crucial given the limited project time. However most of these assets you see are largely reused, and only three unique asset were only created.


Lighting Pass & Atmosphere:

For the lighting, I wanted to keep things moody without going overboard. I experimented with how light interacts with surfaces and blends with the smog to create subtle depth. The goal was to make it feel gritty but still livable. Unreal Engine’s post-processing helped balance warmth and gloom, giving the scene the right mood. The new lighting features in 5.5 also played a big part in this. 


Art Direction & Atmosphere:

Special attention was given to lighting, post-processing, and LUT adjustments to evoke emotion. Smog plays a vital narrative role, shaping the atmosphere and representing the environmental decay while maintaining livable areas. The fog and light interactions emphasize depth, while reflections add subtle life to the scene. 


The Final Result:
This continuation brings new perspectives to the Far From Home project, balancing realism, while telling a deeper story. Each element serves certain emotions and invites viewers to immerse themselves in the evolving narrative of the neighbourhood that lies behind the building of Part 1.
Hope you enjoyed walking through this breakdown more as I enjoyed creating it.

Links to the full breakdown of the original and Part II can be found here.
Part: I Breakdown: | https://www.artstation.com/artwork/Ry6y0v
Part: I Project: | https://www.artstation.com/artwork/6NNoV5
Part II Project: | https://www.artstation.com/artwork/L4a44w
Report

Far From Home | Breakdown

Making Of / 11 October 2023


Far From Home UE5 - Breakdown 80 LVL 
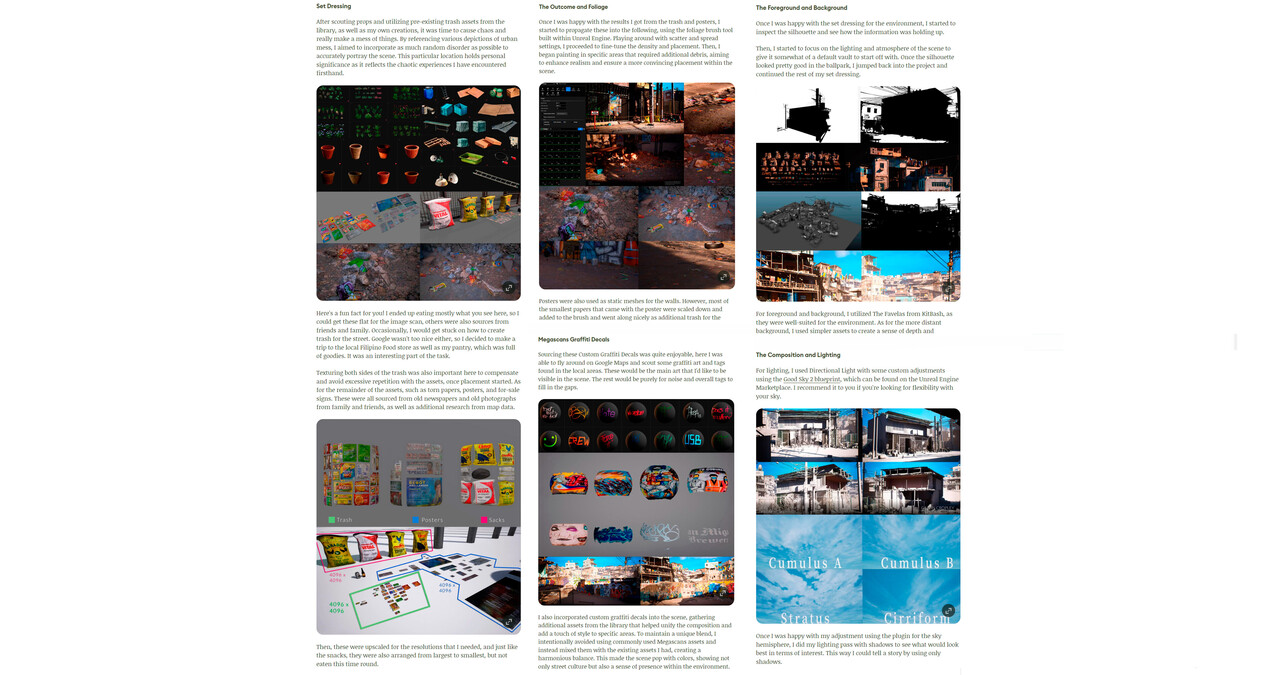
Thanks 80 LVL for the privilege of writing this breakdown of my UE5 project, Far From Home Scene. 
Hope this gives inspiration to see awesome projects.
For the full article, click here!

Link to the original project:
https://www.artstation.com/artwork/6NNoV5
Report

Relighting Breakdown UE4 | Subway Train

Making Of / 06 April 2021
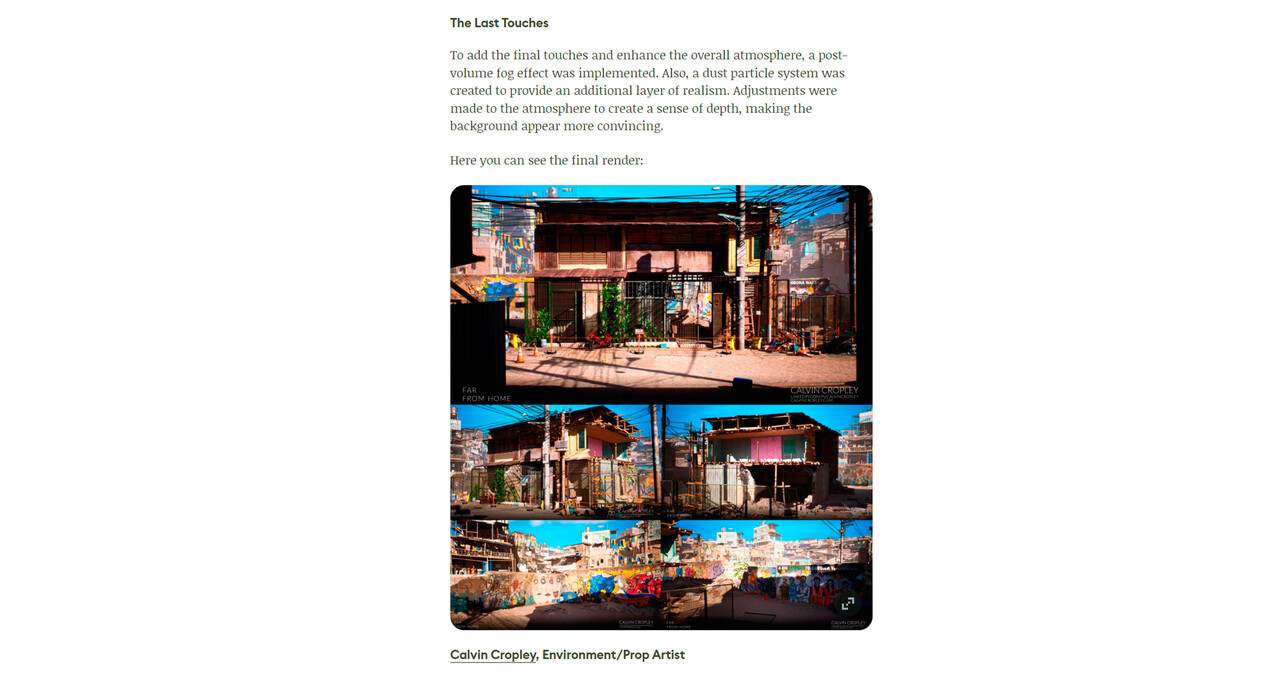
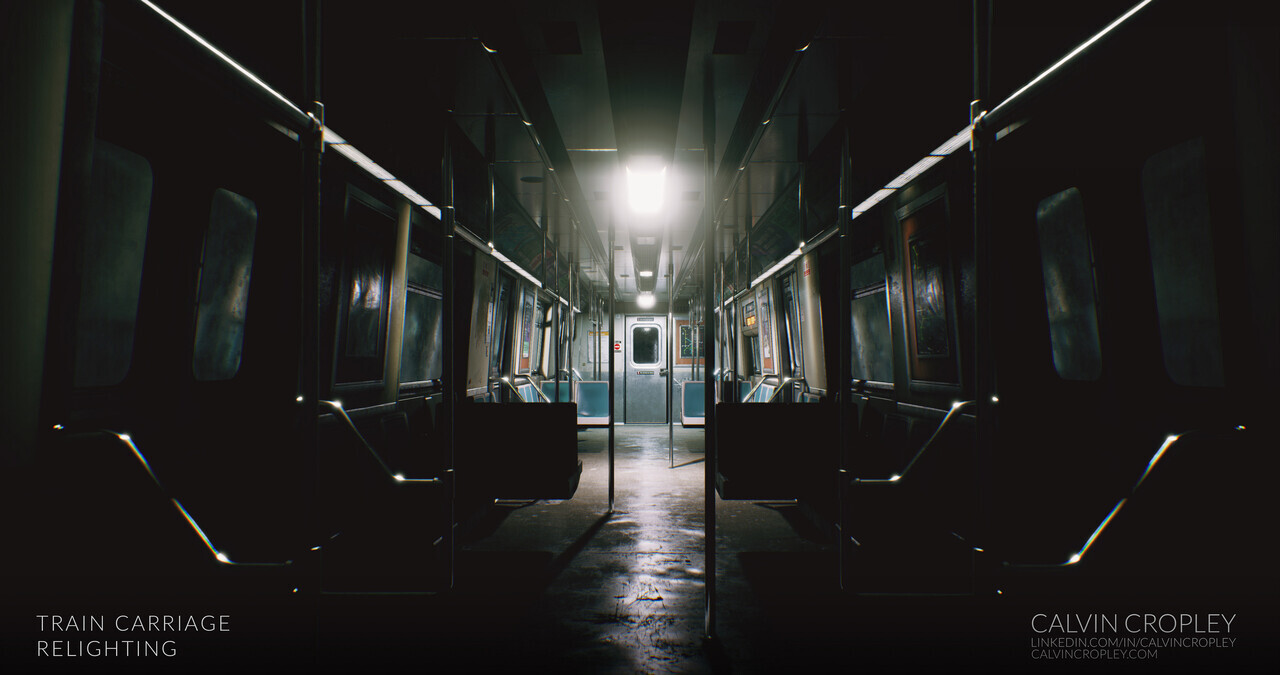
The relighting process was executed using cinematic cameras, the sequencer, and the render queue in Unreal Engine 4. All post-processing was completed directly within the engine, utilizing advanced camera controls to enhance the final result. The lighting design draws inspiration from The Evil Within and other atmospheric styles, combining moody and cinematic elements. This breakdown will explore the lighting techniques and the methods used to achieve the final look.


Planning and Asset Selection:

For this project, I utilized Dekogon Clinton Crumpler's Subway Train asset. My goal was not only to relight the scene but also to imbue it with a sense of eeriness, capturing the atmosphere as if I were physically present, setting up the shot myself. This approach mirrors how I often envision lighting in real-world photography. Once I familiarized myself with the controls, I applied my photography knowledge, making the process smooth and intuitive. I was particularly thrilled to discover that the entire train was composed of separate modular pieces, allowing for greater creative flexibility.


Lighting Setup and Adjustments:
I experimented with rearranging elements to create a completely different atmosphere. It's amazing how much you can transform a scene when everything is laid out for you. Afterwards, I removed most of the default settings included with the pack, such as the lights, fog, and mesh light. However, I retained the emission elements, tweaking them slightly to better fit the desired mood and tone of the scene.


Camera Settings and Composition:
Only four lights were used in the scene, along with adjustments to both the fog and mesh lights. Additionally, I fine-tuned the camera settings to enhance the overall composition. Typically, in these types of environments, I prefer using a wide focal length of 20mm. After setting that up, I configured the usual ISO, shutter speed, and F-stop settings to achieve the desired exposure. I’ve always enjoyed incorporating punchy blacks into my work to evoke a sense of mystery and the unknown, and I was thrilled to bring that same approach into a 3D project.


Finalizing and Sequencing:
Once I was satisfied with the composition and lighting, I added the cameras into the sequencer and let my photographer instincts take over. Comparing the result to the original setup, the difference is striking.

Reflections on the Project:

Working on this project was an incredibly enjoyable experience, particularly because it allowed me to return to my roots as an adventurer—this time using Unreal Engine as my canvas. 

The relighting was achieved by the use of cinematic cameras, sequencer and the render queue in Unreal Engine 4. All post-process was done directly in the Engine with additional camera controls. Reference is taken from The Evil Within and other various lighting styles. Here's a breakdown of this project. I'll discuss the Lighting and how this was achieved.


Reference & Inspiration: 
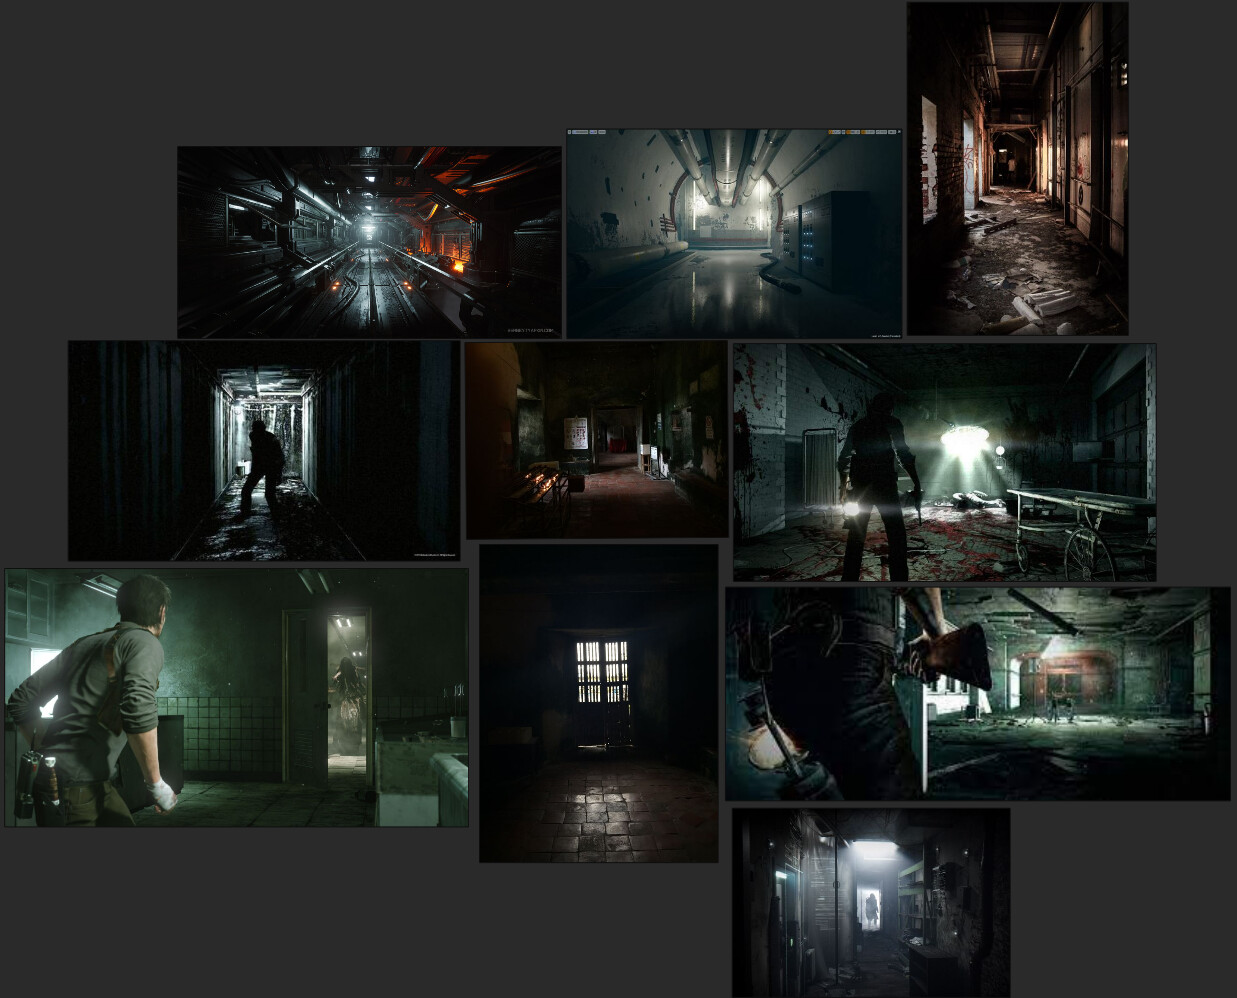
Inspired by Sergey Tyapkin’s lighting techniques and the atmospheric style of The Evil Within (2016), this project aimed to recreate a similarly eerie and cinematic tone. These references provided a strong foundation for the lighting design, helping me craft a mood that balances tension and visual storytelling. Drawing from these influences allowed me to experiment with shadow play, color grading, and overall composition to an unsettling yet captivating environment.

Final Render:


Clinton Crumpler:
https://www.artstation.com/tyapkin

Sergey Tyapkin:
https://www.artstation.com/artwork/X02eY
Report

Breakdown | Original U.S. WWII Wood Box for MK1A1 Grenades

Making Of / 04 July 2020
Planning:
Feedback was based on the previous crate.
Special thanks to my mentor, Stephen Honegger, for guiding me and marking up things that needed to be adjusted.
After receiving this feedback and the markups from Stephen Honegger, I knew for a fact that I really needed to delete everything and simply start again. I collected references in PureRef from Battlefield Battlepacks, renders, and cinematic shots from games such as Call of Duty, along with the one-to-one reference that I was aiming for in this project. 

I gathered more references this time, as shown below, and ensured they matched the one-to-one approach I mentioned. The form and textures had to be spot-on. The crate measures 25 x 9.5 x 6, and assuming these were inches, I needed to get the scale right. I've also been obsessed with plugins lately, so I wanted to find something that would make the scaling experience fun and visually better for the UI.

Texturing:

All texturing was done using Substance Painter, with Source used for the wood texture. The stamps were created in Photoshop from the original references, with photo retouching applied before converting them into alphas. I used masking for most of my process, knowing I was limited to only two texture sets. I began with a 2K workflow, utilizing masks, stencils, and layering to achieve a worn look. Additional realism was added with stains, scratches, and spray paint stamps. 

Once everything was completed, I baked all the maps at 8K with anti-aliasing and subsampling set to 8x8, then exported them at 4K to retain the detail from the masking and textures.

Tweaking:

After understanding how the textures would interact with the rope, I brought the rope into ZBrush to apply Inflate and SBend adjustments. The initial version didn’t include SBend, but I eventually leaned toward settings of 0.2 for Inflate, -20 for SBend, and 3.0 for the rope, as this closely matched the reference.


Lighting / Rendering:
The lighting was set up using one spotlight and a shadow catcher. Multiple cameras were added to simplify the rendering process, allowing me to avoid excessive movement and panning. All of this was done in the Marmoset Toolbag. Once everything was prepared, I created additional outputs, such as a turntable and an exploded view, for enhanced viewing options.
Post Process:
The final step before posting anything online is SEO. I know not many people take it this far, but I make it a point to keyword everything I do—images and video content—even if it’s for 3D. It’s a habit I carried over from my photography days, and it truly helps. The 3D industry is challenging enough as it is, so I highly recommend it. Taking the extra mile to research and implement SEO can boost your traffic significantly. 

It also saves time because when you post to your portfolio, whether on ArtStation or elsewhere, the tags will already be there. With a system like mine, you can reuse and filter tags efficiently. It’s a must. While this can save time, it doesn’t replace the need to create outstanding work—your art still has to be top-notch.


Final Result:
The final results show variations, all angles and an exploded view for more detail for look dev.
The Original U.S. WWII Wood Box for MK1A1 Grenades | Prop
Can be found at the following links.
https://www.artstation.com/artwork/B11yq9
https://calvincropley.com/projects/B11yq9?album_id=1735814

Special thanks to Stephen Honegger for mentoring and guiding me on through this process. 
https://www.artstation.com/playdoh
Report