Introduction:
Far From Home Part II extends my previous project Part I. The scene takes a step further from the original, which lies directly behind the building of Part I, depicting a more polluted and chaotic part of the neighbourhood, showcasing the raw realities of the environment I remember from the 90s. The smog-filled canal area, with murky, litter-filled water, recreates the feeling of this place, evoking the harsh but nostalgic experience of my second home. I used a mix of self-made assets, Quixel Megascans, modelling, and KitBash3D to help achieve the narrative.
I built everything on a separate level to enable reusability for each asset, combining real references—including Google Maps and discussions with family—to keep the authenticity intact. My goal was to go beyond accurate depiction and bring the place to life, introducing heavy smog, extreme pollution, and intense heat, while still presenting it as a livable area. The area captured here is essentially what lies behind the main building from Part I.
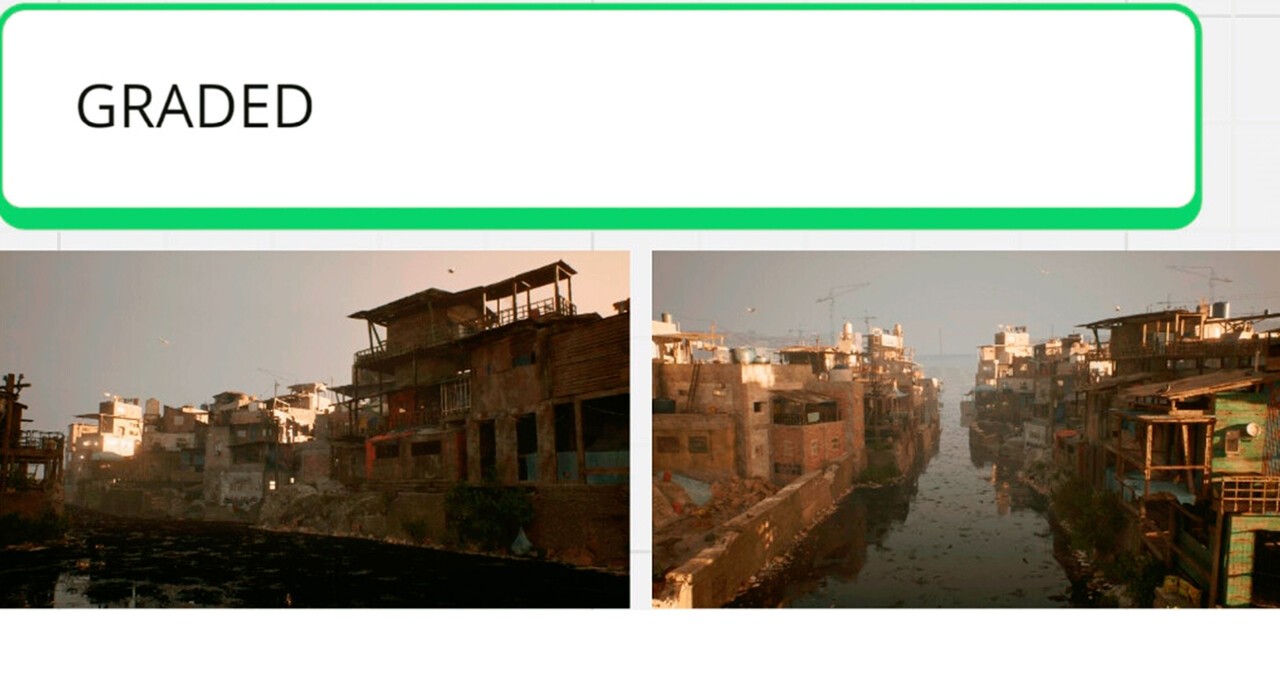
Special attention was given to how light interacts with water reflections and the surrounding architecture, emphasizing a delicate balance between nature and the neighbourhood’s overall imprint. By adding a slightly stylized LUT treatment, I was able to maintain focus on emotional storytelling without detracting from the detailed models and textures. A critical part of this process was ensuring that each shot felt intentional not only showcasing the environment but also encouraging exploration and interpretation by the audience.
For context please read the full breakdown of the original post to Far From Home Part: I
https://www.artstation.com/artwork/6NNoV5
https://www.artstation.com/artwork/Ry6y0v

The Concept Stage:
So, I started with some quick sketches and photo batching in order to get a feel and vibe for what I was going for. I also explored Google Maps Street View to gather references from familiar places. It helped shape the direction of the project as well as merging images to create the place I actually wanted, which is a mix of two different area batched together.


Assets & Workflow:
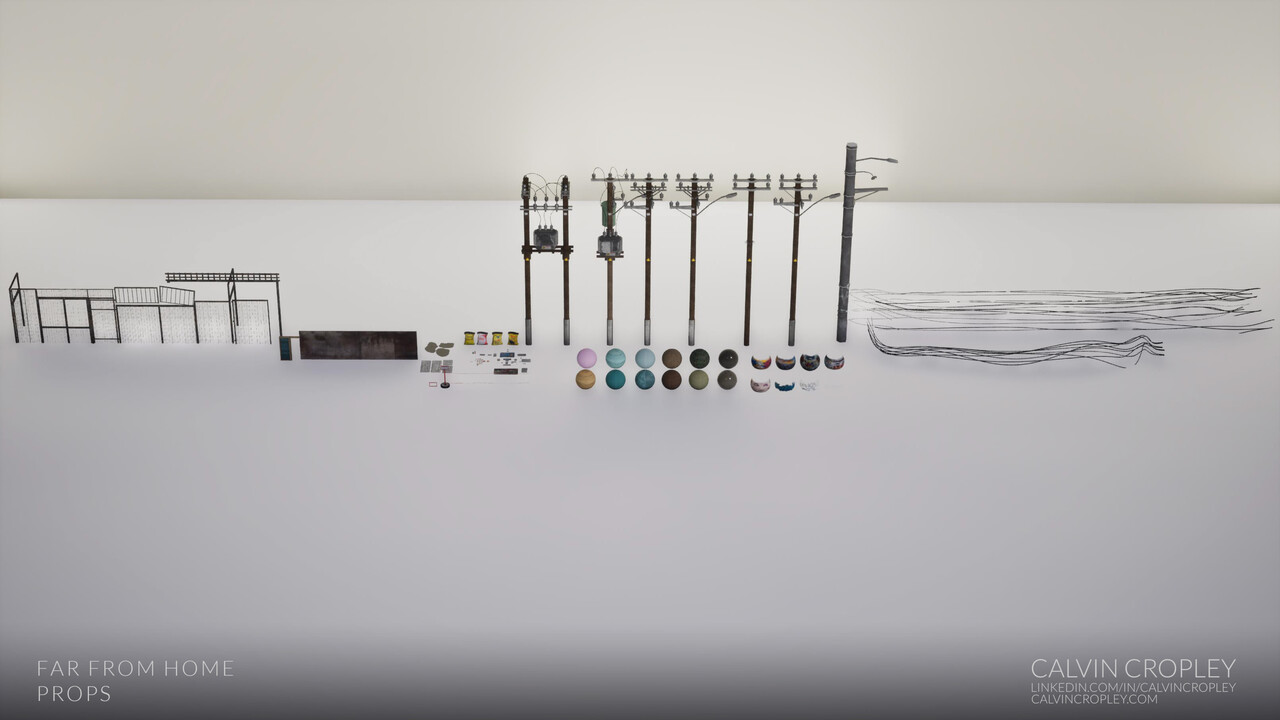
This project heavily leveraged 3D KitBash assets alongside many custom-created assets. Reusability was a key focus, streamlining the workflow by repurposing models from Part 1. The modular structure enabled a fast and flexible approach to building new scenes while maintaining consistency. From there, I jumped into Maya to block things out and understand how everything would look. It was helpful to test ideas before diving into Unreal Engine and bringing the whole thing to life.


Set Dressing & Composition:
The set dressing balances visual clutter with intentional storytelling, reinforcing a sense of a lived-in world. Using procedural scattering techniques for trash and posters makes the environment feel grounded and realistic, with elements designed to encourage exploration. Just like Part I, I studied the silhouette to get a feel of what composition I was looking for as well as keeping in mind all the details from the foreground and mid. This was done much quicker by also using KitBash's new tool Cargo, which made the import process through Maya super speedy.

Atmosphere:
Smog plays a vital narrative role, shaping the atmosphere and representing the environmental decay while maintaining livable areas. The fog and light interactions emphasize depth, while reflections add subtle life to the scene. Set Dressing & Composition: The set dressing balances visual clutter with intentional storytelling, reinforcing a sense of a lived-in world. By using procedural scattering techniques for trash and posters, the environment feels grounded and realistic, with elements designed to encourage exploration.

Tools & Technical Execution:
All work was completed in Unreal Engine, with additional modelling in Maya and textures developed using Substance Suite. The modularity allowed for rapid construction, ensuring every shot was polished and intentional. This efficiency was crucial given the limited project time. However most of these assets you see are largely reused, and only three unique asset were only created.

Lighting Pass & Atmosphere:
For the lighting, I wanted to keep things moody without going overboard. I experimented with how light interacts with surfaces and blends with the smog to create subtle depth. The goal was to make it feel gritty but still livable. Unreal Engine’s post-processing helped balance warmth and gloom, giving the scene the right mood. The new lighting features in 5.5 also played a big part in this.
Art Direction & Atmosphere:
Special attention was given to lighting, post-processing, and LUT adjustments to evoke emotion. Smog plays a vital narrative role, shaping the atmosphere and representing the environmental decay while maintaining livable areas. The fog and light interactions emphasize depth, while reflections add subtle life to the scene.


The Final Result:
This continuation brings new perspectives to the Far From Home project, balancing realism, while telling a deeper story. Each element serves certain emotions and invites viewers to immerse themselves in the evolving narrative of the neighbourhood that lies behind the building of Part 1.
Hope you enjoyed walking through this breakdown more as I enjoyed creating it.

Links to the full breakdown of the original and Part II can be found here.
Part: I Breakdown: | https://www.artstation.com/artwork/Ry6y0v
Part: I Project: | https://www.artstation.com/artwork/6NNoV5
Part II Project: | https://www.artstation.com/artwork/L4a44w
